- Massive Range
- FREE UK Delivery
- Rapid Dispatch
- Massive Range
- FREE UK Delivery
- Rapid Dispatch
- Massive Range
- FREE UK Delivery
- Rapid Dispatch
Home » How to Use Mild Steel Sheet Metal in Auto Repair

From minor dents to major bodywork overhauls, the use of mild steel sheet metal is a cornerstone in auto body repair.
Renowned for its robustness, malleability and affordability, mild steel is the go-to material for many professionals in the automotive industry.
Whether you’re a seasoned repair shop or a DIY enthusiast, understanding how to work with mild steel sheet metal can elevate your auto body repair skills. This blog will take you through the step-by-step process of using mild steel sheet metal in auto body repair.
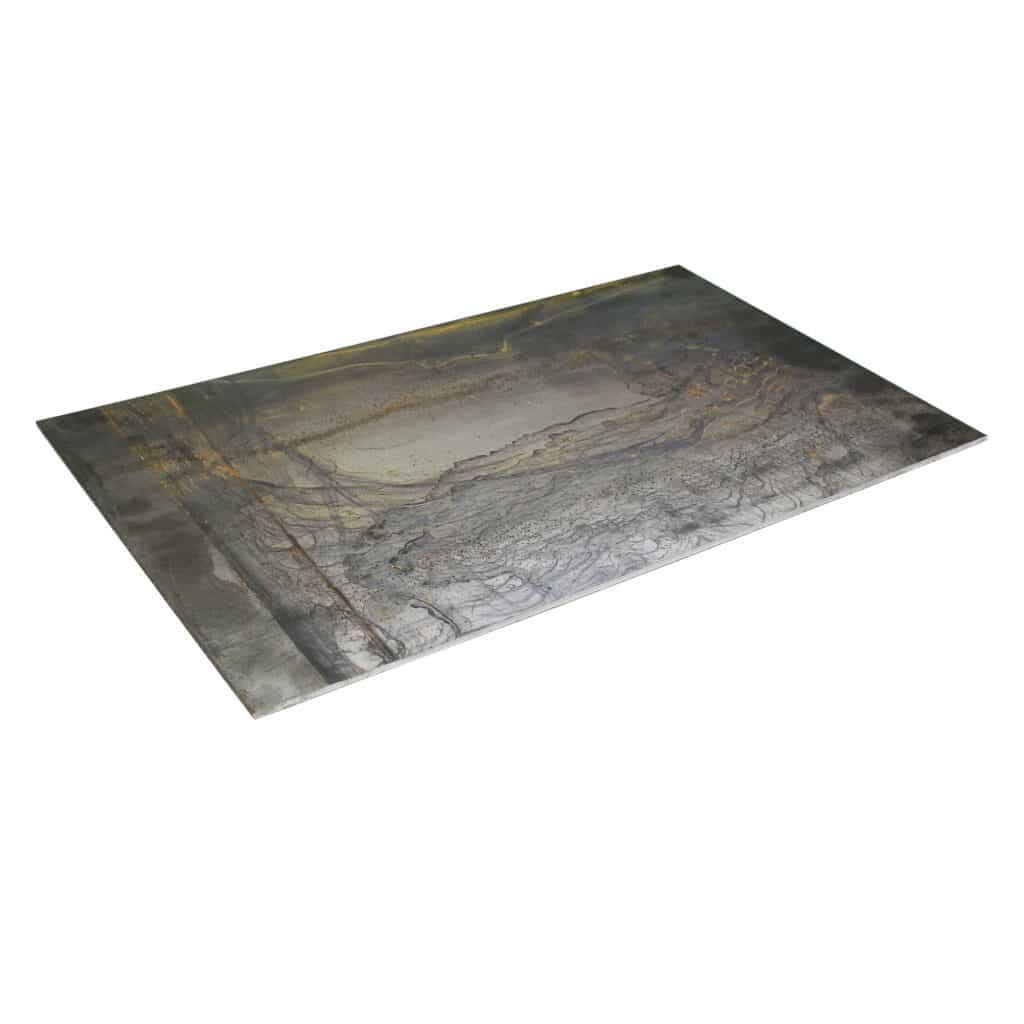
Mild steel, often referred to as low carbon steel, is popular in auto body repair due to its unique properties. Its low carbon content makes it malleable and ductile, which is ideal for shaping and bending during repairs. Additionally, mild steel welds well, which is crucial when affixing new panels to a car’s frame.
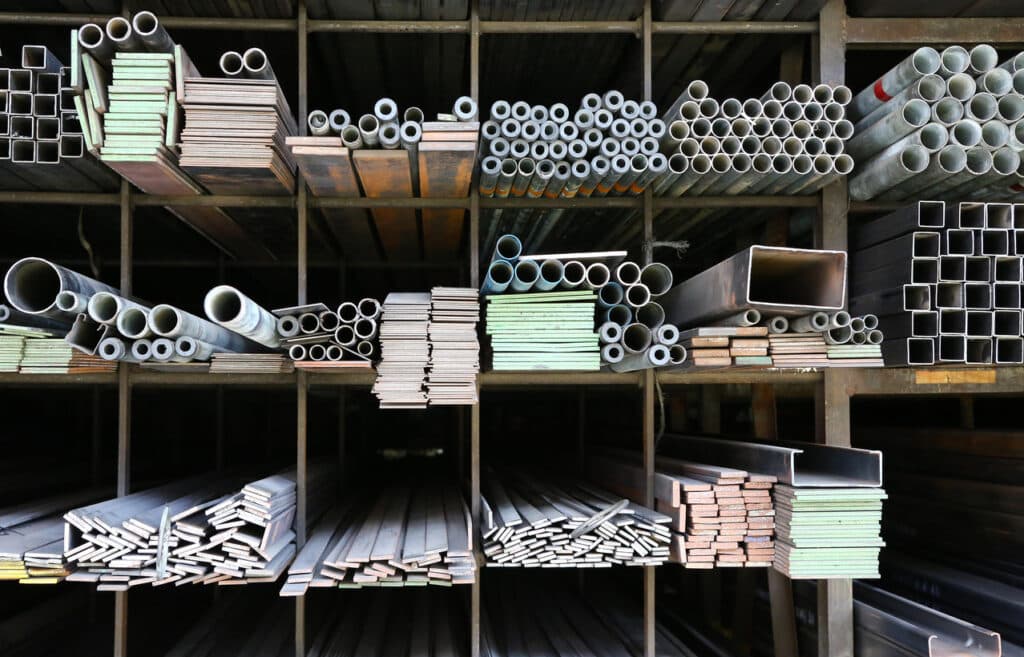
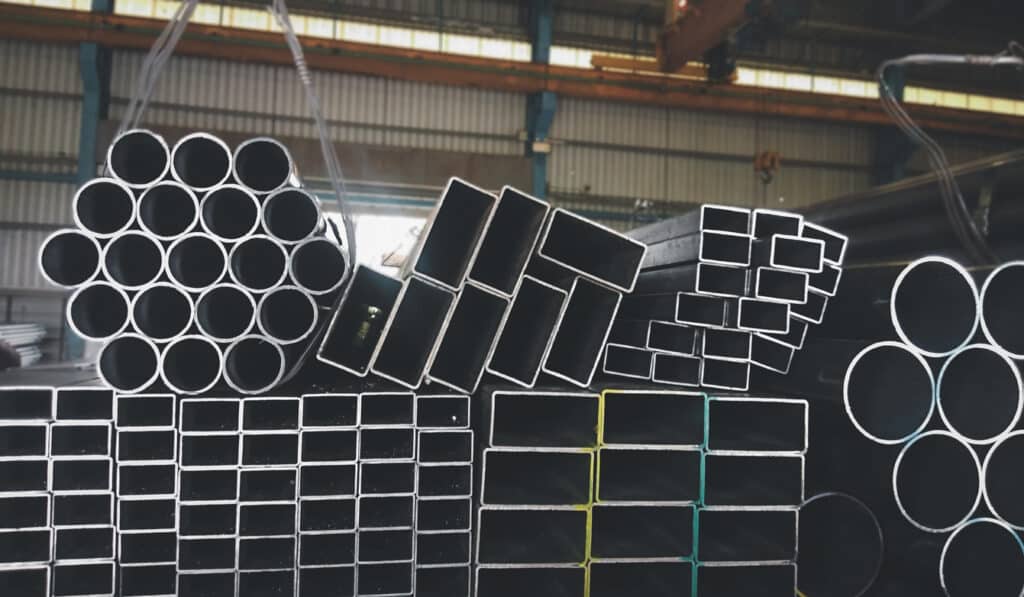
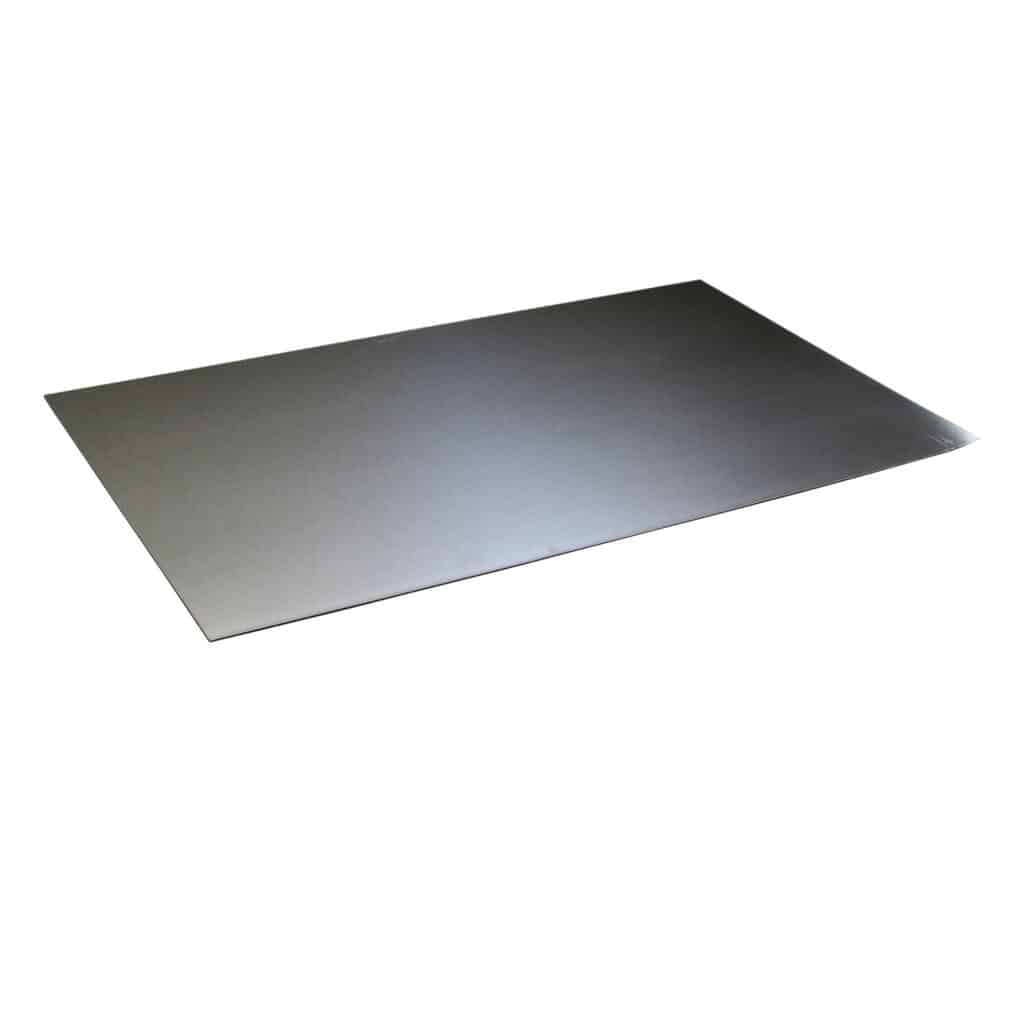
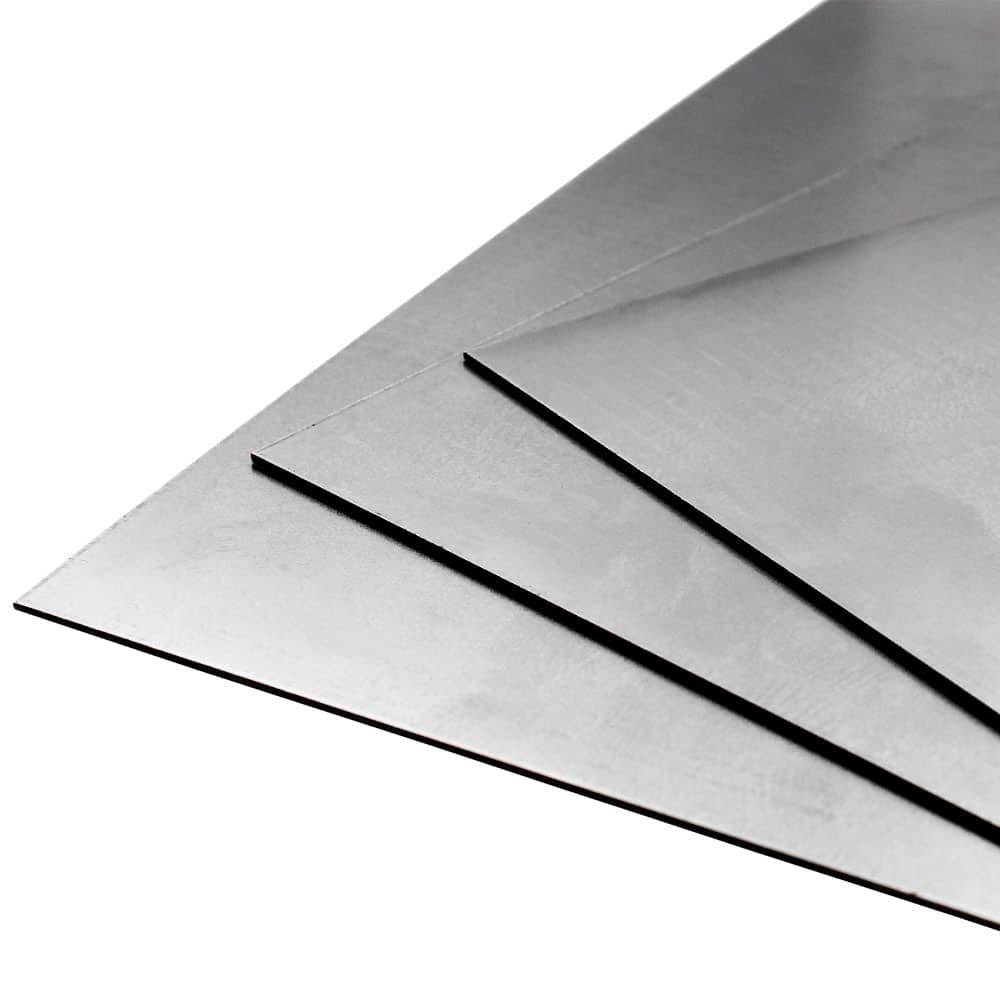
Mild steel sheet metal is an advantageous material for car repairs for several reasons. Known for its malleability and ductility, mild steel can be easily shaped and molded to match the unique contours of a vehicle, making it an ideal material for fabricating replacement panels or other components. The metal’s excellent weldability is another significant benefit as it simplifies the process of affixing replacement panels or repairing existing ones on a car’s frame. When it comes to cost-effectiveness, mild steel is hard to beat. It’s less expensive compared to materials like stainless steel or aluminum but offers robust durability and strength, ensuring the longevity of repairs and preserving the structural integrity of the vehicle. Additionally, mild steel is easy to paint, allowing for aesthetically pleasing and seamless repairs. And, with its wide availability, sourcing mild steel sheet metal is convenient for both auto body repair shops and DIY enthusiasts. However, it’s essential to remember that, despite these advantages, mild steel has a higher tendency to rust compared to some other metals and proper treatment and maintenance are crucial to prevent this.
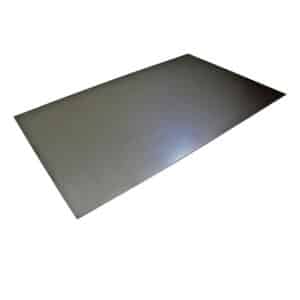
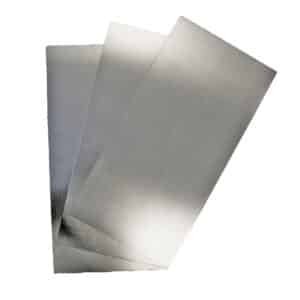
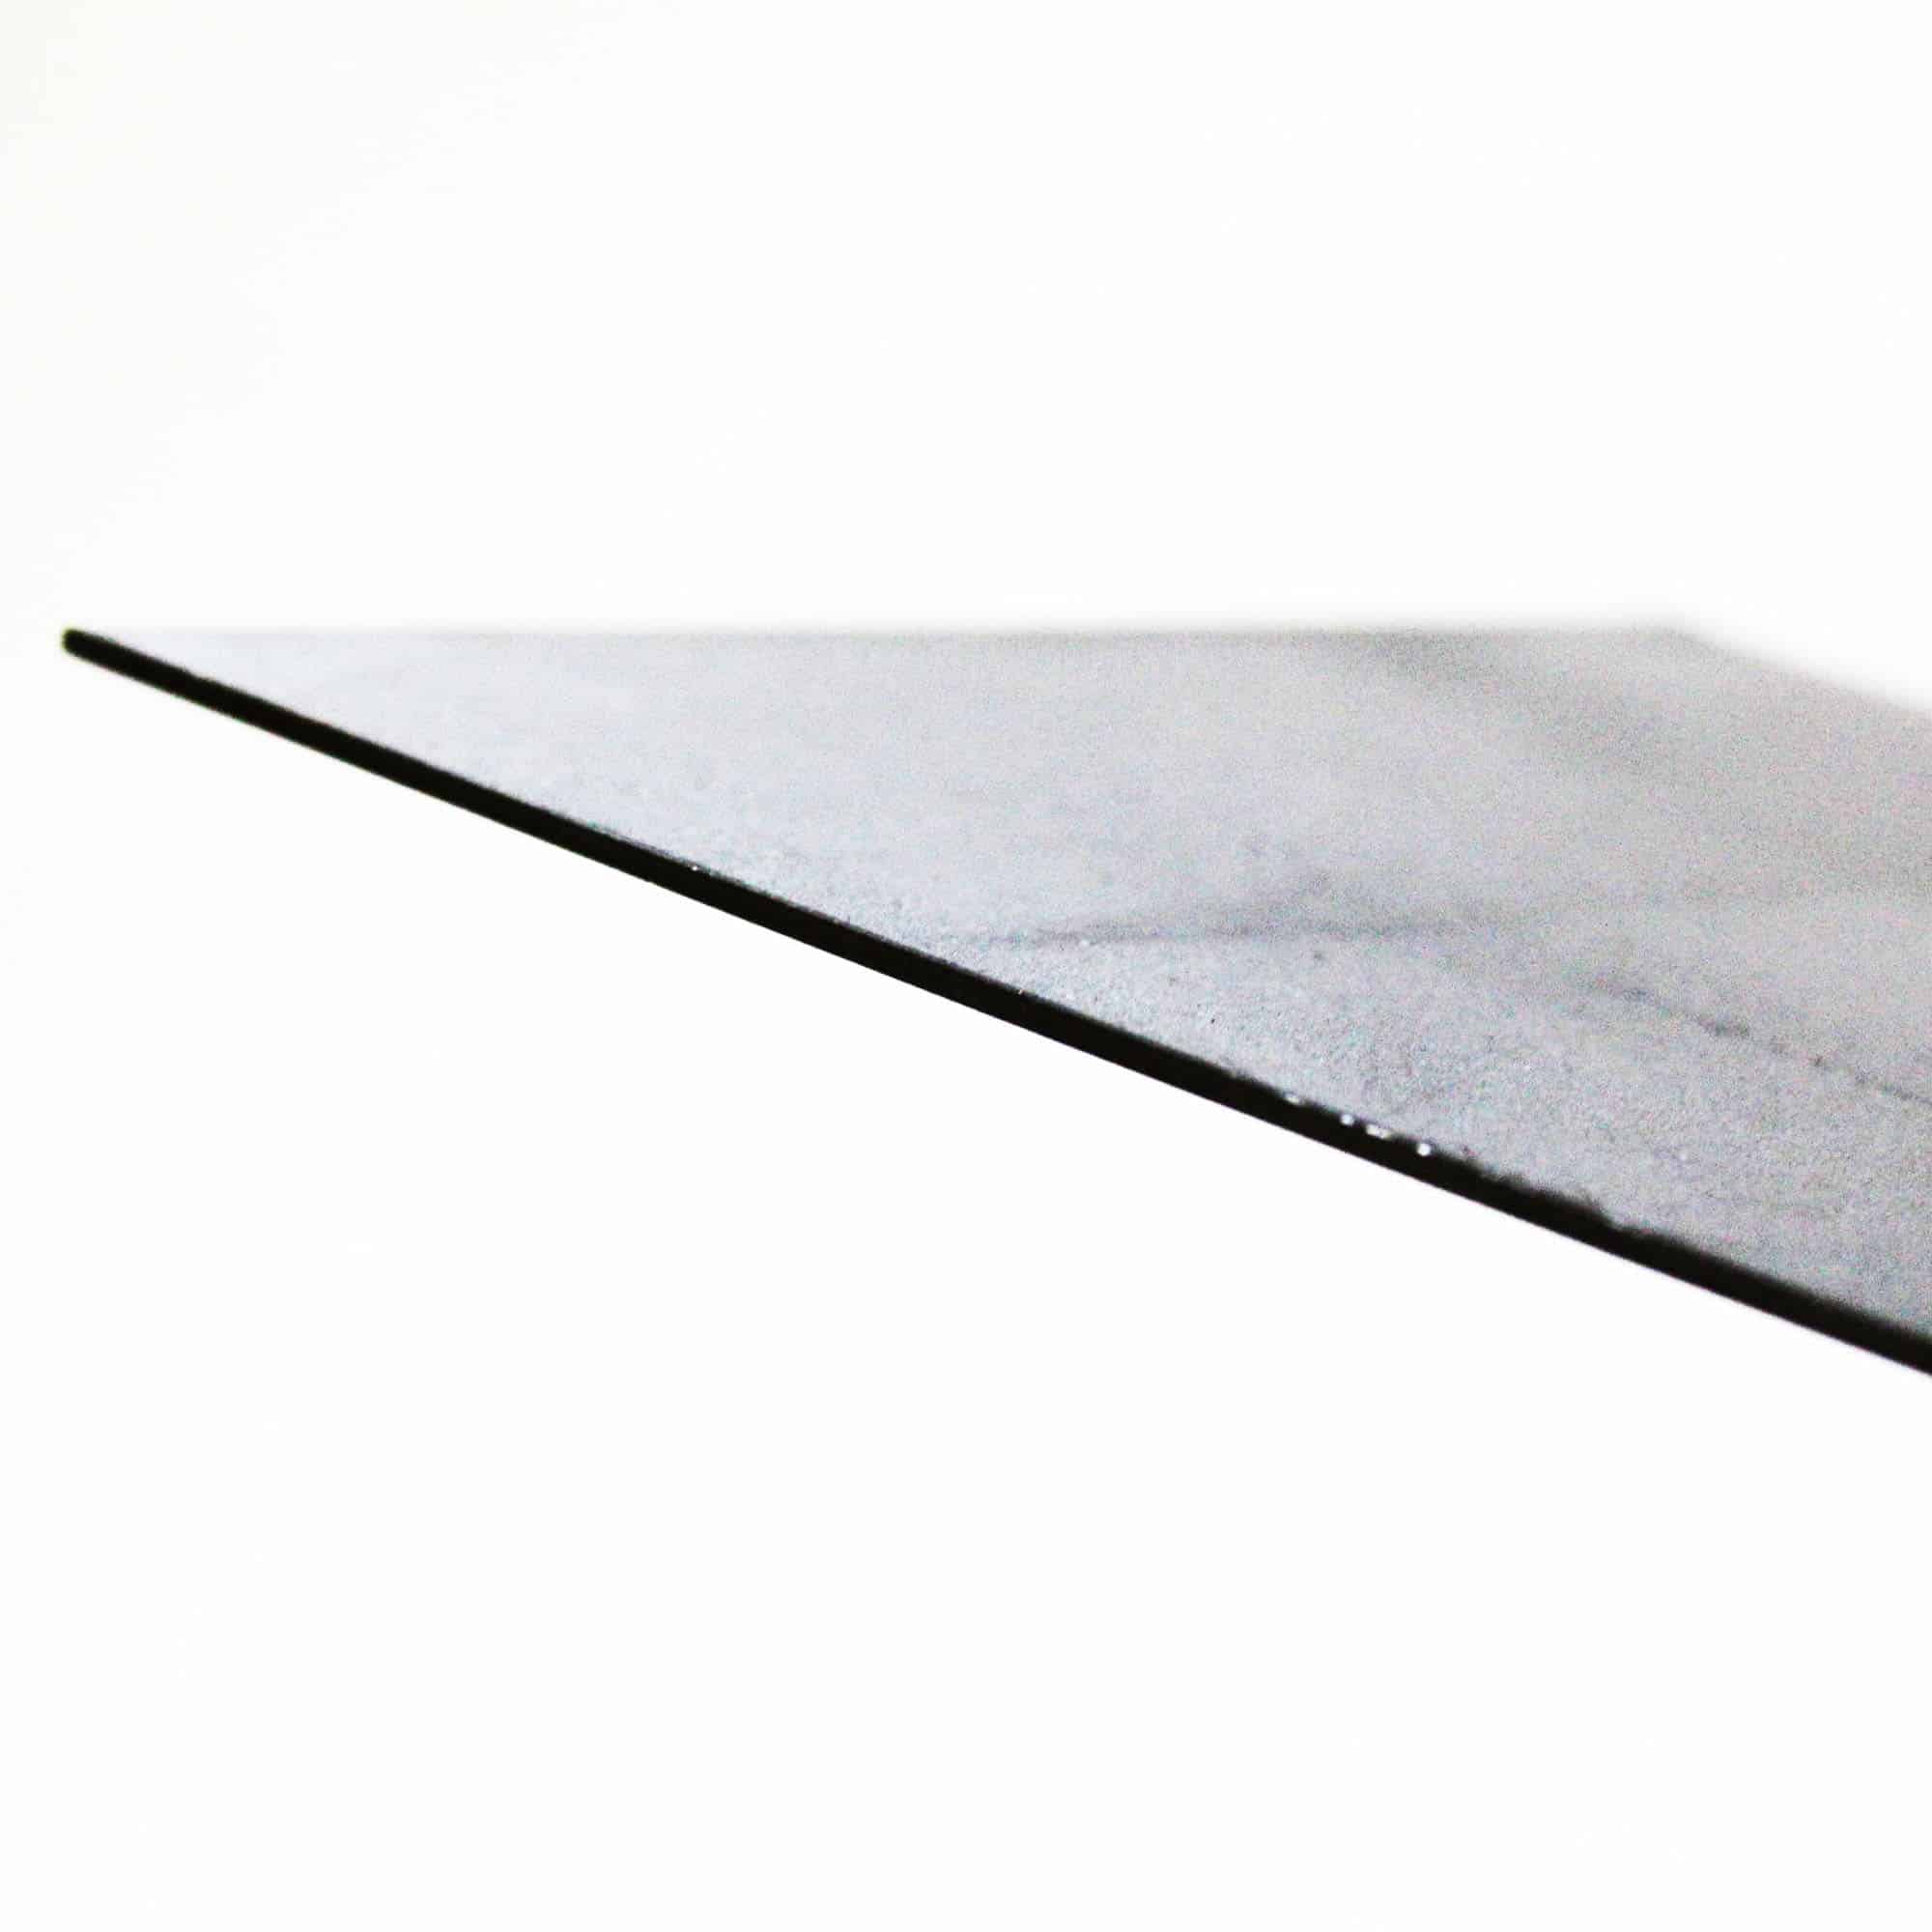
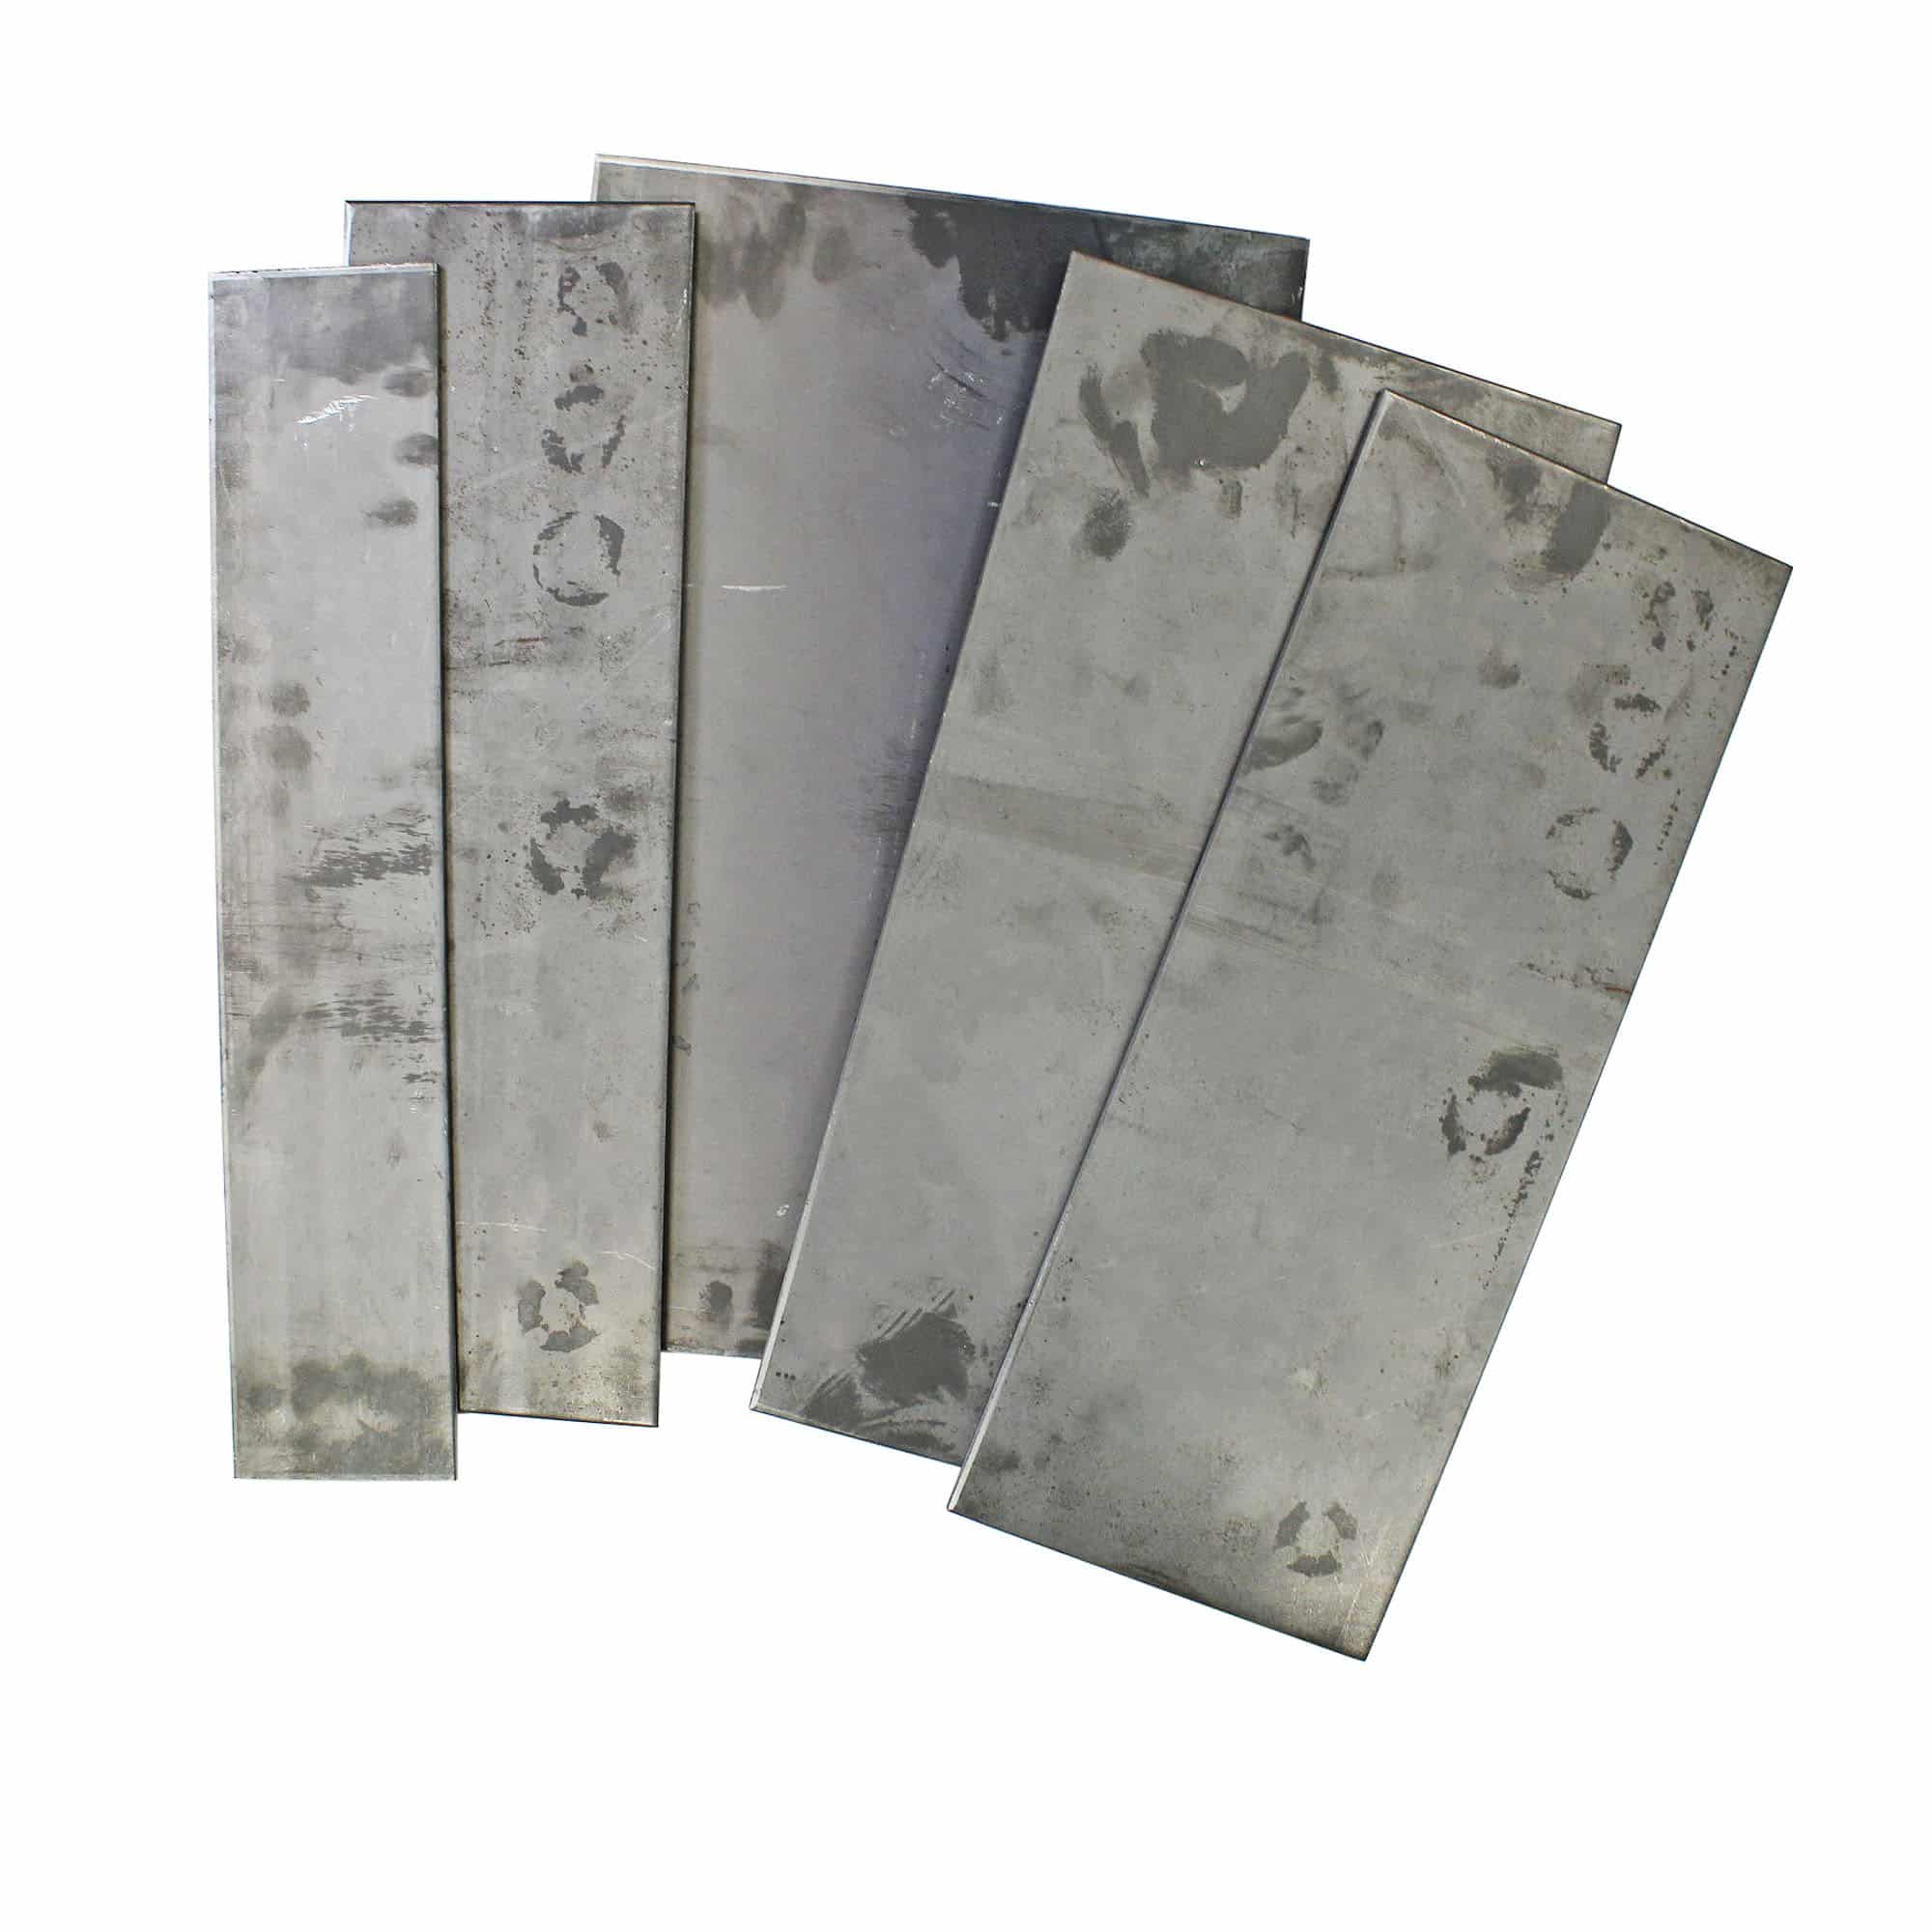
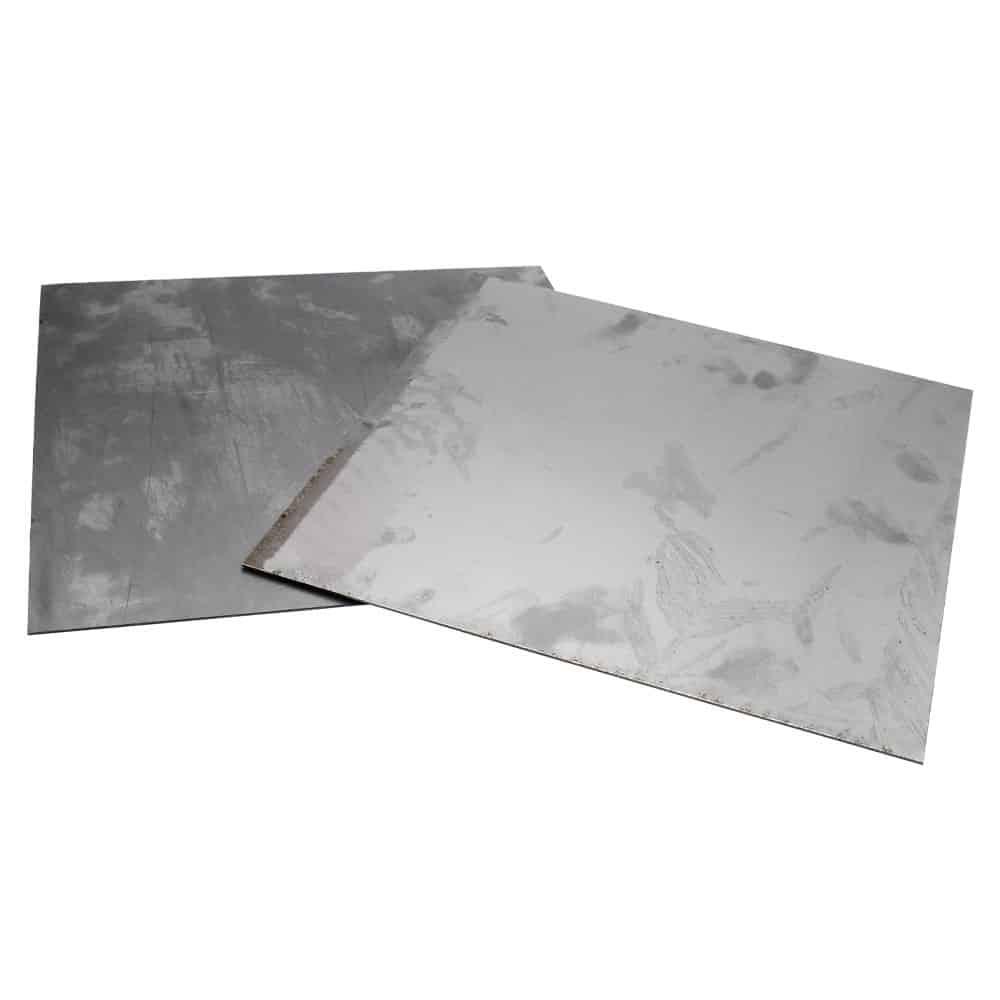
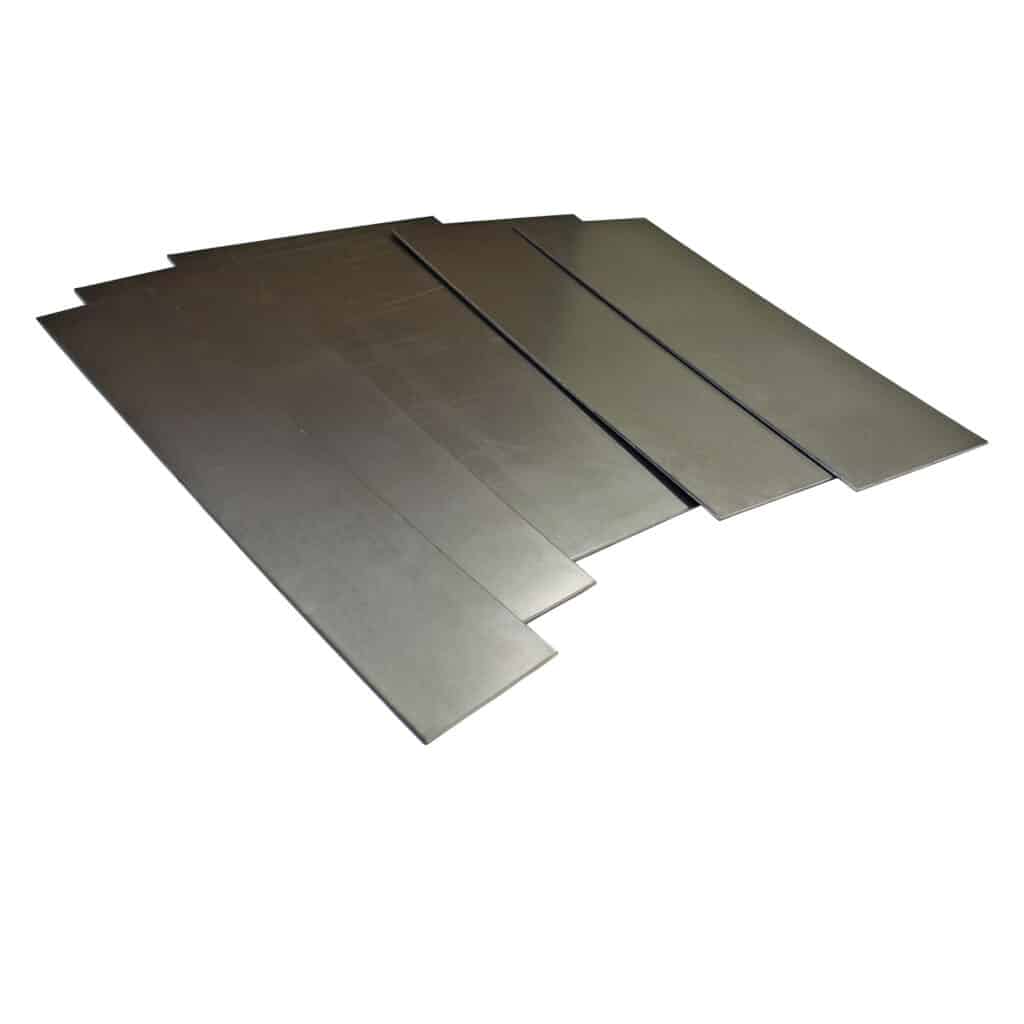
One of the first steps in auto body repair is choosing the right thickness of your mild steel sheet. The thickness you choose will largely depend on the area of the car you’re repairing. For most standard vehicles, a 20-gauge sheet will suffice for body panels, while heavier duty areas like floor pans might require 18-gauge.
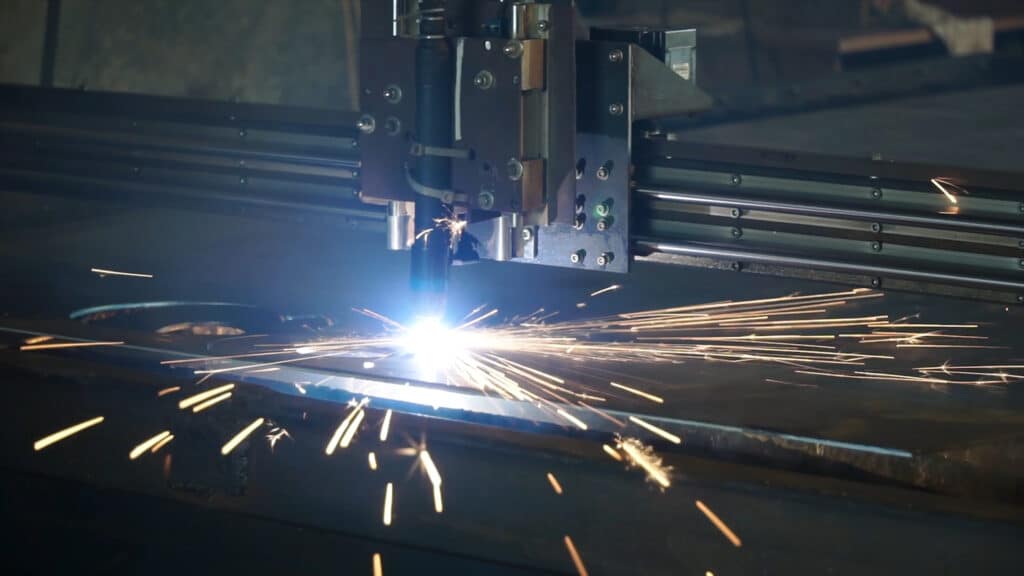
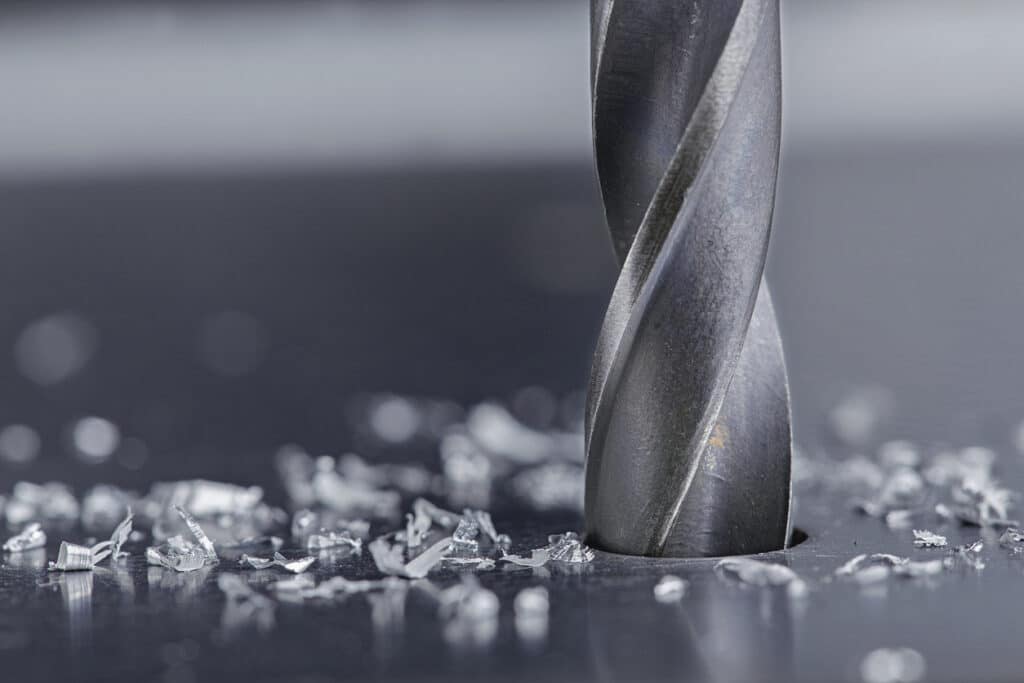
The next step is cutting the mild steel sheet to match the size of the area you’re repairing. This can be achieved using various tools, but tin snips, power shears or a plasma cutter are often used for precision and efficiency. Remember, always measure twice and cut once, as this can save you time and materials.
Cutting mild steel sheet metal requires several tools including safety glasses, gloves, a measuring tape or ruler, a marker, and cutting tools such as sheet metal shears, a nibbler, or an angle grinder with a metal cutoff wheel. Wear your safety gear before you begin. Next, mark where you want to make your cut on the steel sheet. Depending on the thickness of your steel, choose the appropriate tool for the cut. Shears and nibblers are ideal for cutting thinner sheets because they offer control and precision. For thicker sheets, an angle grinder with a metal cutoff wheel will serve you better. Ensure that you move slowly and steadily while making the cut in order to maintain control and safety. After the cut, it’s important to smooth the edges with a file or a deburring tool to remove any metal slivers or sharp edges. Lastly, clean your workspace and properly dispose of any metal shavings. Always prioritise safety when working with power tools and sharp materials, and ensure you work in a well-ventilated area to avoid inhaling metal dust.
After cutting, you’ll need to shape the steel sheet to match the contours of the repair area. This may involve bending or curving the sheet metal to fit the car’s original design. Here, a body hammer and dolly are crucial tools. Patience and attention to detail are key as getting a perfect fit will make the rest of the process smoother.
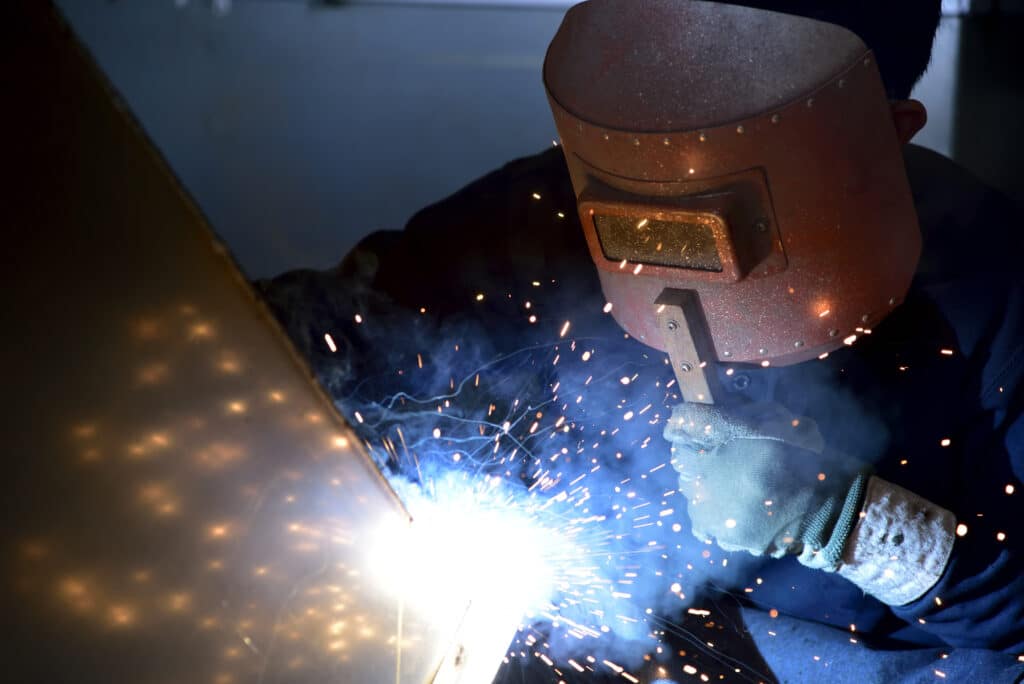
With your mild steel sheet cut and shaped, you’re now ready to weld it onto the car body. Depending on your preference and the repair job’s nature, you may opt for MIG (Metal Inert Gas) welding or TIG (Tungsten Inert Gas) welding. Remember to clear the area of any flammable materials before starting the welding process and always wear appropriate safety gear.
Materials and Tools Needed:
Steps to Weld Mild Steel Sheet Metal:
1. Safety Measures: Before starting, ensure you’re wearing all necessary safety gear, including a welding helmet, gloves and safety glasses. Ensure your workspace is well-ventilated to avoid the buildup of potentially harmful gases.
2. Prepare the Metal: Use a wire brush or a grinder to clean the area of the mild steel sheet you plan to weld. Any rust, paint or dirt can create problems during the welding process, so make sure the metal is clean.
3. Set Up the Welder: Follow the manufacturer’s instructions to set up your MIG welder. You’ll need to load the welding wire and adjust the settings. The thickness of the metal will determine the voltage and wire feed speed settings. Thinner metals will require lower voltage and wire feed speed.
4. Attach Ground Clamp: Connect the ground clamp from your welder to the piece of metal. This is crucial for completing the electrical circuit required for welding.
5. Start Welding: Hold the welding gun with both hands for stability. Position the gun at a 10 to 15-degree angle towards the direction of your weld. Pull the trigger to start welding, moving the gun slowly along the joint line. Try to maintain a steady speed and distance to ensure a uniform weld bead.
6. Inspect the Weld: Once you complete the weld, allow it to cool. Inspect the weld for any inconsistencies. Use a hammer and a chipping tool to remove any slag and a wire brush to clean the weld area.
7. Practice: Welding requires skill and practice. Don’t be discouraged if your first few attempts don’t turn out perfectly. Keep practicing on scrap metal before moving on to the car repair.
Remember, safety should always be your priority when welding. Always wear the appropriate safety gear and work in a well-ventilated area.
After welding, you’ll need to smooth the surface to prepare it for painting. This involves grinding down any welds and applying body filler to smooth any low spots or minor imperfections. After applying the filler, it should be sanded down to ensure the panel’s surface is smooth and even.
Once the surface is smooth, the panel is ready for priming and painting. Priming helps the paint adhere to the metal and provides an additional layer of protection. After the primer dries, you can apply your paint, following it up with a clear coat to add a glossy finish and additional protection.
Mild steel sheet metal is a versatile material that can give your auto body repairs a professional finish. Though the process requires patience and attention to detail, the result is a durable and visually pleasing bodywork repair. With practice and the right tools, you can master the art of working with mild steel in auto body repair and bring even the most worn-out vehicle back to life.
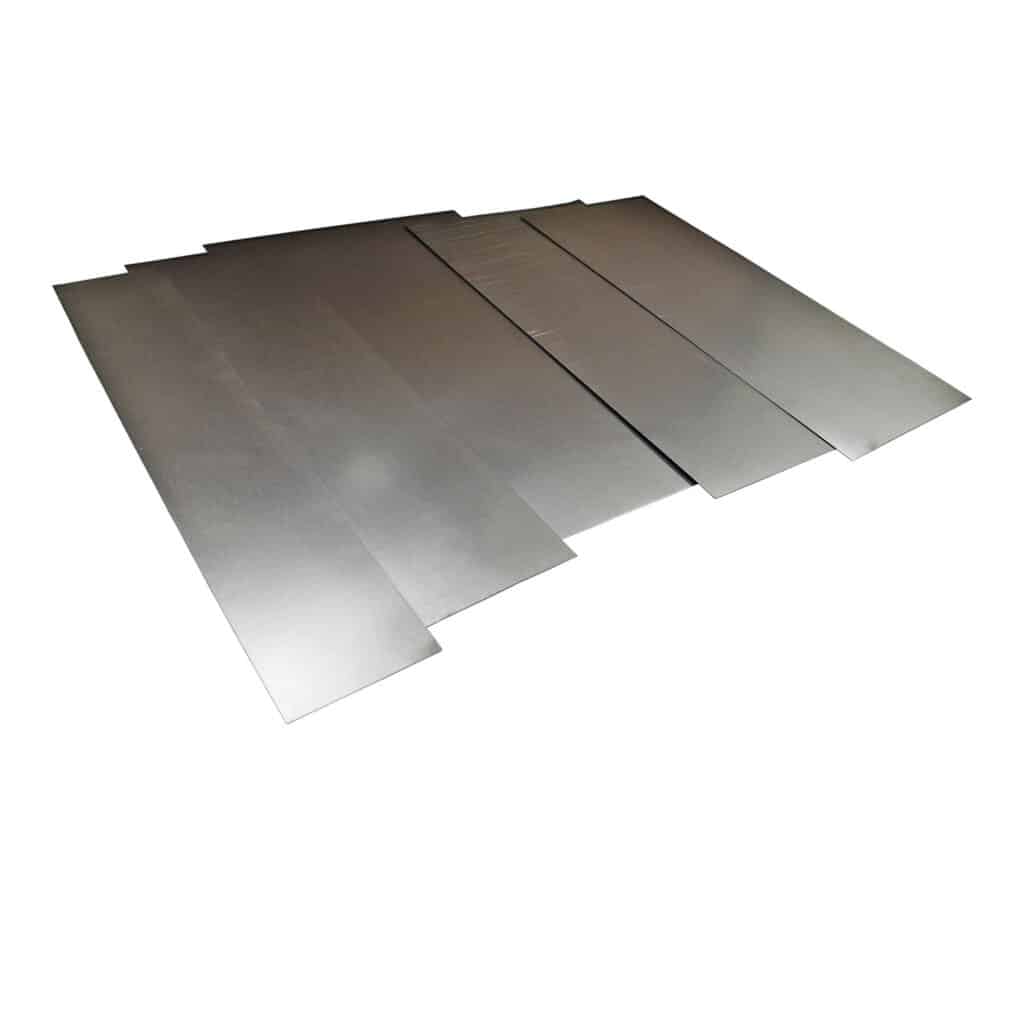
Slightly thicker, offering more durability while remaining flexible and easy to work with.
Known for its increased durability while still being lightweight and easy to cut or weld.
This thickness provides substantial strength while still being easy to machine.
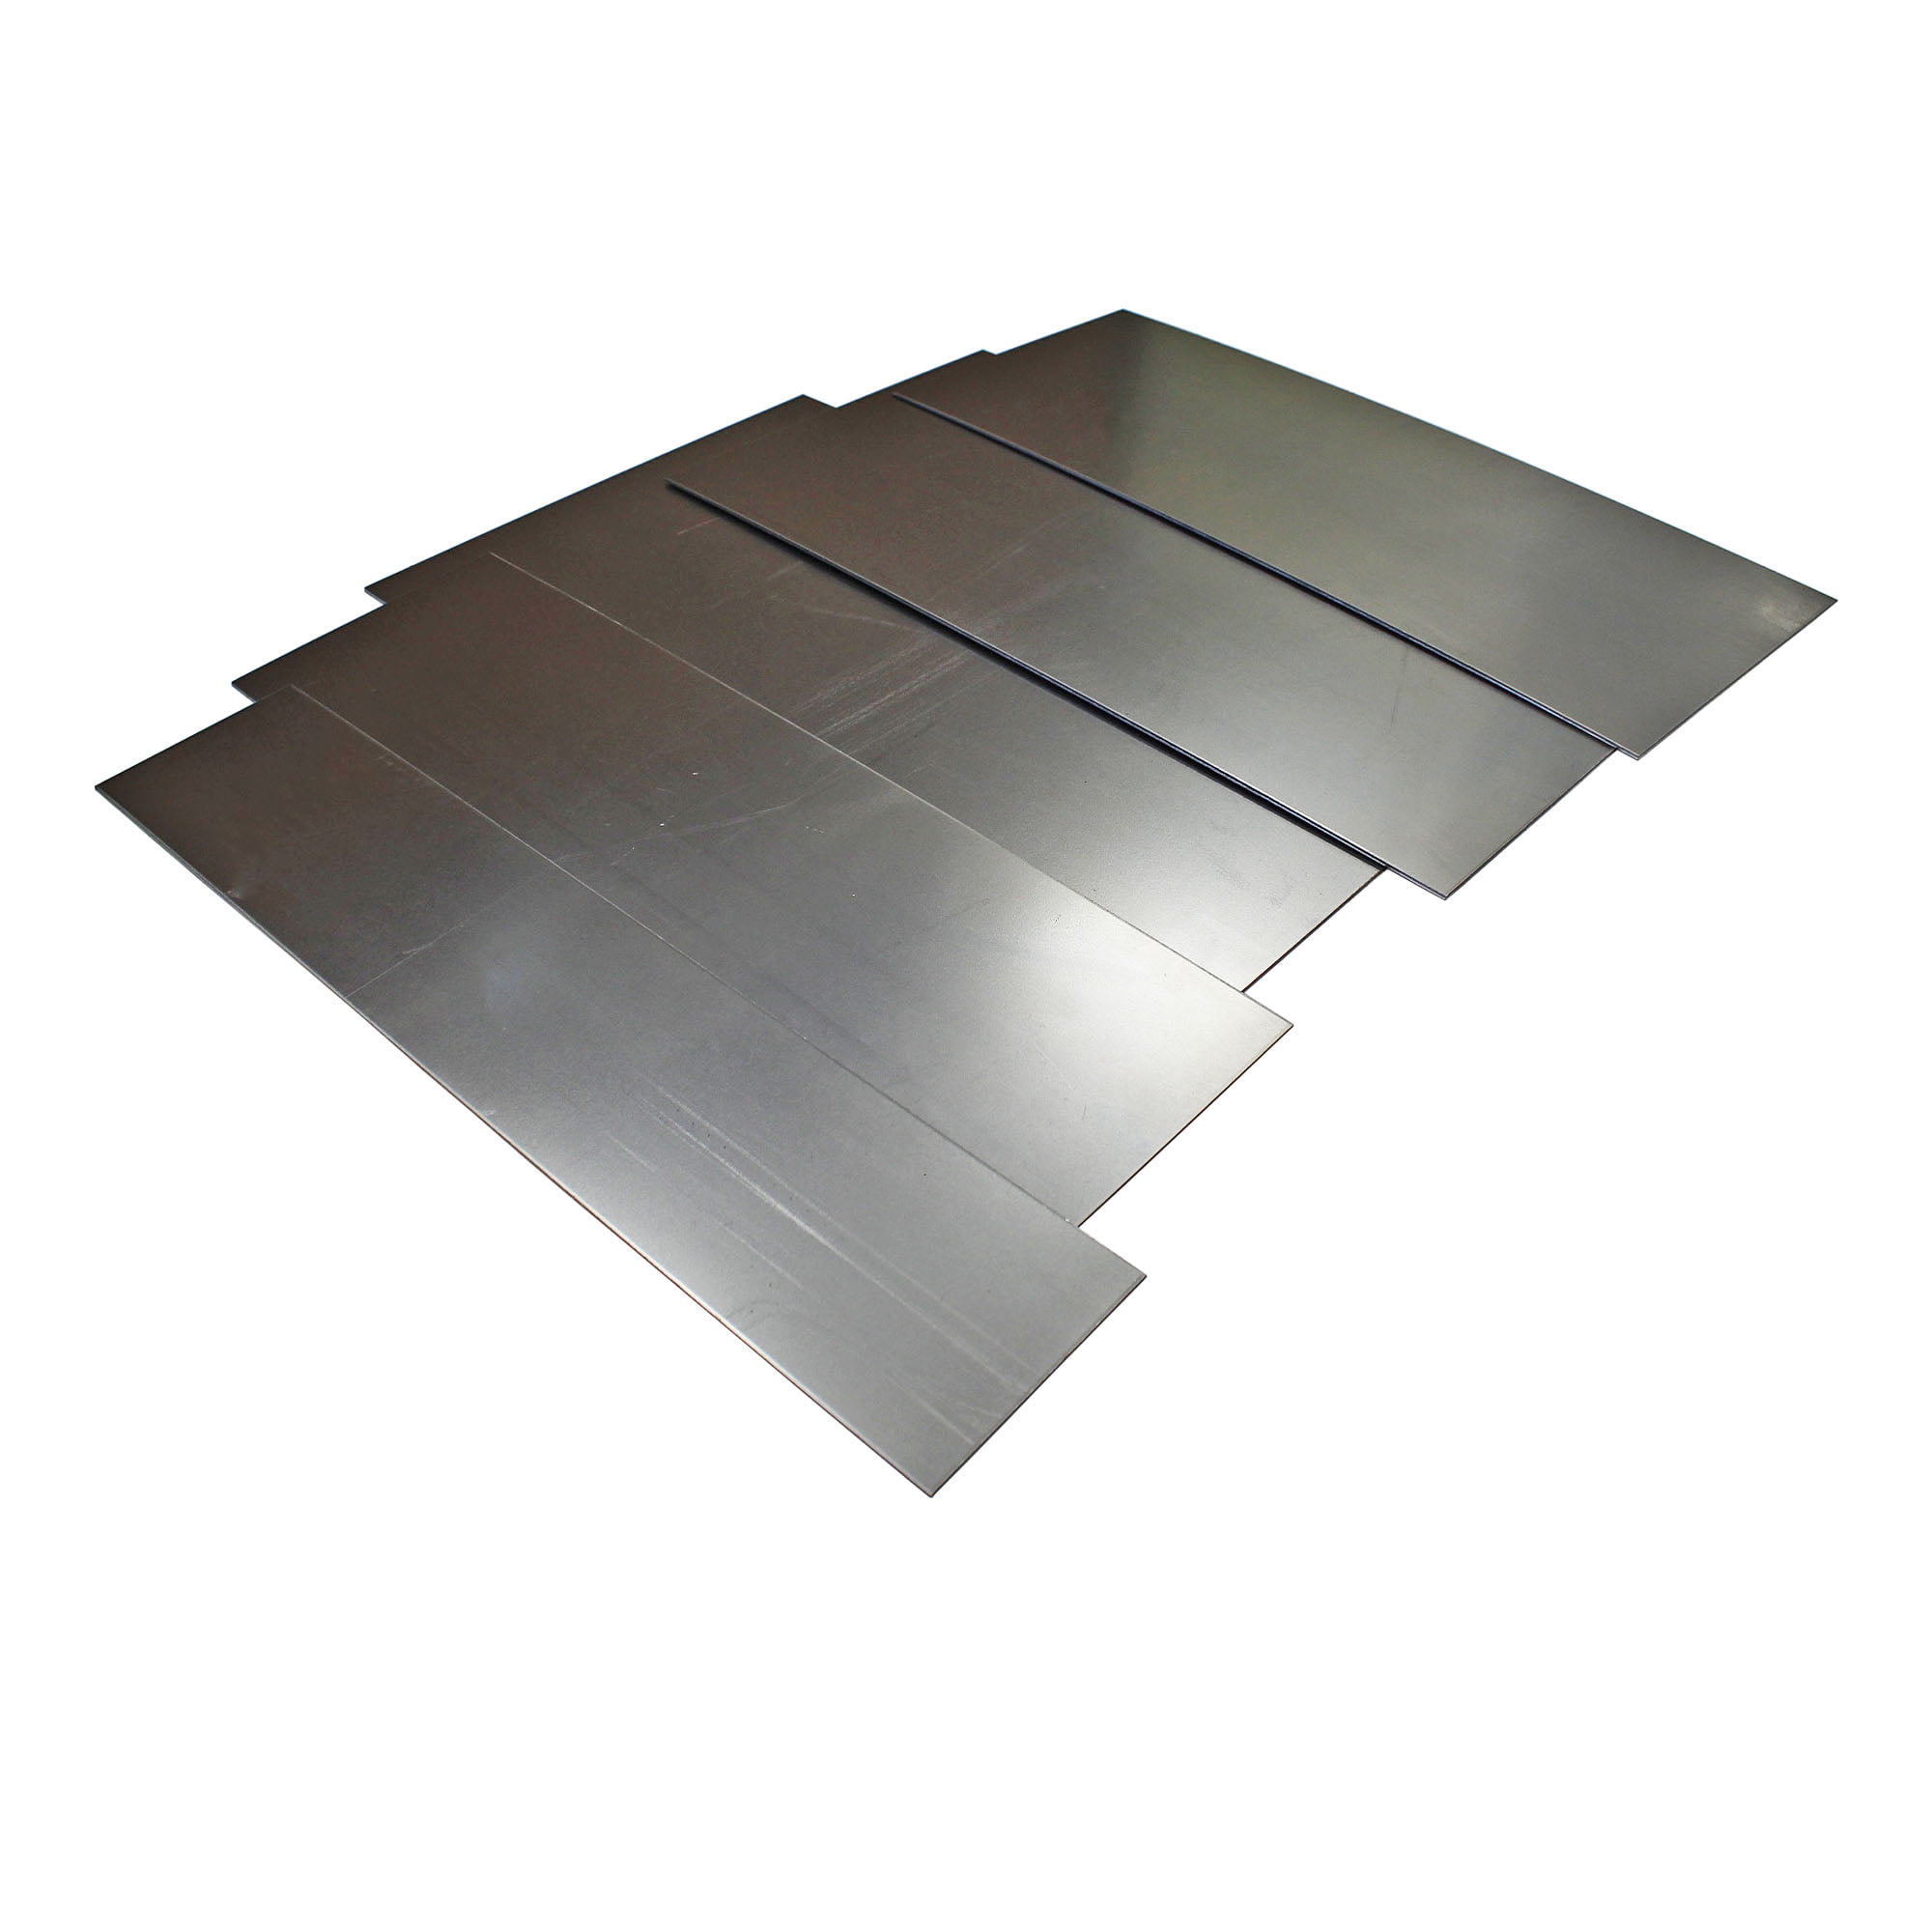
Thick and sturdy, 3mm mild steel is a go-to choice for heavy-duty applications.
Thicker sheets like this are used for the most robust applications requiring maximum durability.
This ultra-thin sheet is perfect for lightweight applications where flexibility and precision are key.
This thickness strikes a balance between flexibility and strength, making it ideal for everyday applications.
With a sturdier build, this sheet is suitable for more robust applications requiring moderate strength.
With increased rigidity, this sheet can withstand higher loads and rough handling.
This thickness is designed for demanding applications where strength is critical.
The thickest in our range, 6mm sheets are built for extreme strength and durability.
As always, thank you for checking out our blog. We hope that this helps you with your project.
Please also check out the other articles in our helpful guide series. We have written about mild steel sheet and welding recently so why not check them out?
We are also proud to sell this product on our highly popular eBay store, check us out there too.
If you have any further questions, feel free to contact us.