- Massive Range
- FREE UK Delivery
- Rapid Dispatch
- Massive Range
- FREE UK Delivery
- Rapid Dispatch
- Massive Range
- FREE UK Delivery
- Rapid Dispatch
Home » How to Maintain and Sharpen Your Tin Snips
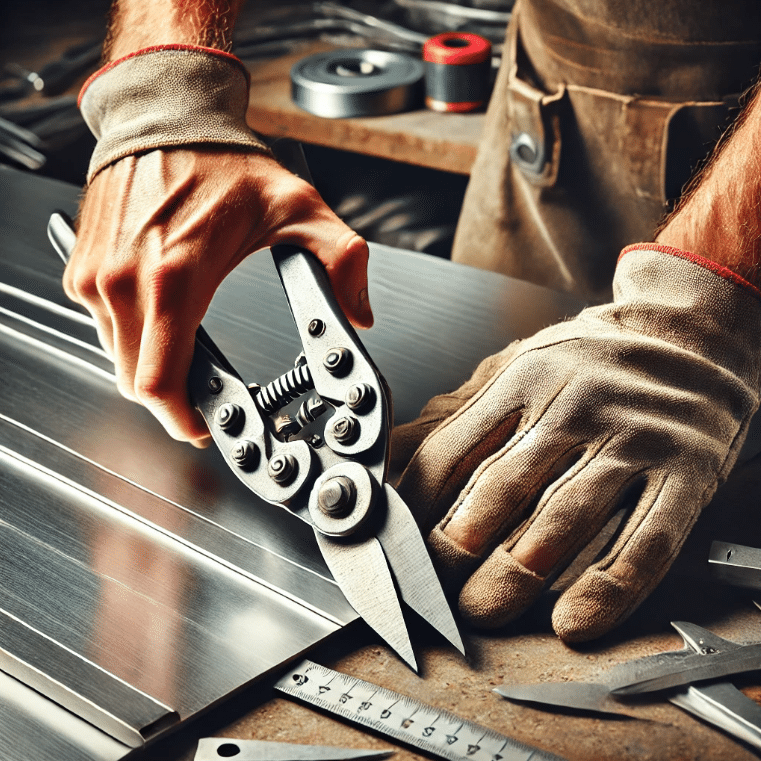
Tin snips, also known as aviation snips or tin shears, are an indispensable tool for any metalworking or DIY enthusiast. You can use these versatile cutting tools for a variety of projects, such as roofing and gutter work, crafting, and detailed metal art. Sharpening and maintaining your tin snips regularly will ensure their effectiveness and clean cuts. With this comprehensive guide, we’ll cover the best practices for maintaining and sharpening your tin snips so they stay in optimal condition for years to come.
Before diving into maintenance and sharpening, it’s important to understand the different types of tin snips and their specific uses. Tin snips come in three primary types:
Straight-cut tin snips: These are designed for making straight cuts and slight curves. They are the most commonly used tin shears and are ideal for cutting along straight lines or making gentle curves in sheet metal.
Left-cut tin snips: Also known as green-handled snips, these are designed to make left-curving cuts. They are perfect for cutting intricate shapes and curves to the left.
Right-cut tin snips: Also known as red-handled snips, these are designed to make right-curving cuts. Like left-cut snips, they are ideal for detailed work but for curves to the right.
Understanding the specific type of tin snips you have and their intended use is crucial for effective maintenance and sharpening.
Regular maintenance and sharpening of tin snips are essential for several reasons:
Cleaning: After each use, clean your tin shears to remove any metal shavings, dust, and debris. Use a soft brush or cloth to wipe down the blades and handles. For stubborn grime, you can use a mild detergent and water, but make sure to dry the snips thoroughly to prevent rust.
Lubrication: Regular lubrication helps keep the pivot point smooth and prevents rust. Apply a few drops of light machine oil or a specialized tool lubricant to the pivot point and any moving parts. Wipe off any excess oil to avoid attracting dirt.
Rust Prevention: Store your tin snips in a dry place to prevent rust. You can also apply a light coat of oil to the blades and handles before storing them. If you notice any rust, remove it promptly using fine steel wool or a rust remover.
Inspection: Periodically inspect your tin shears for signs of wear and damage. Check the blades for nicks, chips, or dullness, and ensure that the handles and pivot point are in good condition. Address any issues immediately to prevent further damage.
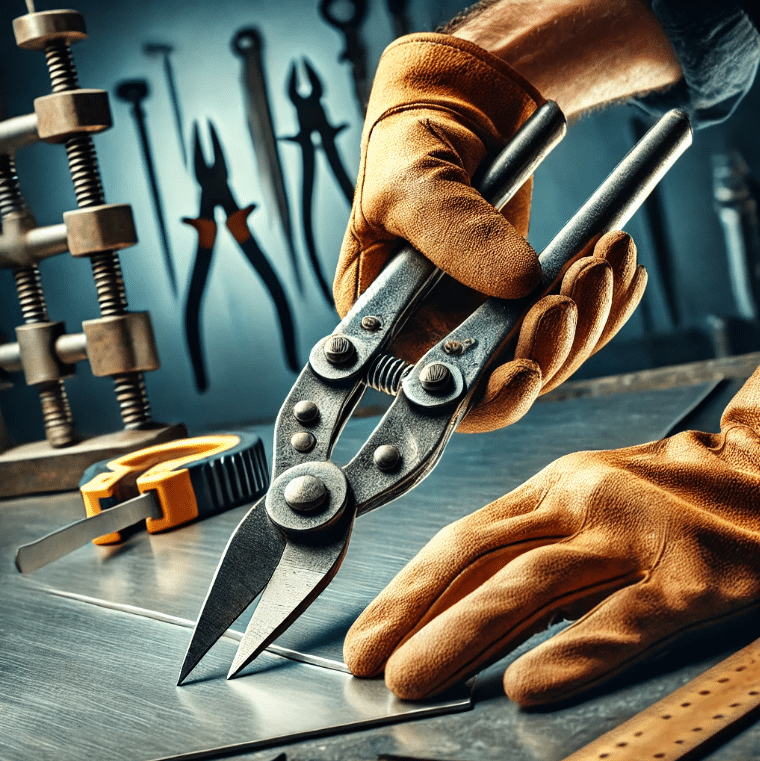
Sharpening tin snips requires precision and care. Follow these steps to ensure your tin shears are sharpened correctly:
Safety First: Before you begin, put on safety goggles and work gloves to protect yourself from metal shavings and sharp edges.
Secure the Snips: Place the tin shears in a bench vise to hold them securely. Make sure the blades are accessible and the snips are stable.
Inspect the Blades: Examine the blades closely to identify any nicks, chips, or dull areas. This will help you determine the extent of sharpening needed.
Sharpen the Blades: Use a file or sharpening stone to sharpen the blades. For straight-cut snips, follow these steps:
For left-cut and right-cut snips:
Remove Burrs: After sharpening, there may be burrs (raised edges) on the blades. Use fine-grit sandpaper or a sharpening steel to gently remove these burrs, ensuring a smooth edge.
Lubricate and Test: Apply a few drops of lubricating oil to the blades and pivot point. Open and close the snips a few times to distribute the oil evenly. Test the snips on a piece of scrap metal to ensure they cut smoothly and accurately.
Use the Right Tool for the Job: Avoid using your tin shears on materials they are not designed for, such as hardened steel or thick metals. This can damage the blades and reduce their lifespan.
Avoid Overheating: When using power tools or grinders for sharpening, be cautious not to overheat the blades. Excessive heat can weaken the metal and affect the performance of your tin snips.
Store Properly: Store your tin shears in a tool chest or a designated holder to prevent them from getting damaged or dulled by contact with other tools.
Regular Maintenance Schedule: Establish a regular maintenance schedule based on the frequency of use. Regularly clean, lubricate, and inspect your tin snips to keep them in top condition.
Ignoring Dull Blades: Using dull tin snips can lead to imprecise cuts and increased effort. Always sharpen your snips at the first sign of dullness.
Incorrect Sharpening Angle: Maintaining the correct angle while sharpening is crucial. Sharpening at the wrong angle can damage the blades and affect their cutting performance.
Neglecting Rust Prevention: Rust can significantly reduce the lifespan of your tin shears. Always clean and lubricate your snips after use and store them in a dry place.
Tin snips are a valuable tool for anyone working with sheet metal, and proper maintenance and sharpening are essential to keep them performing at their best. You can keep your tin snips sharp, efficient, and safe by following the tips and techniques outlined in this guide. Keeping your tin snips clean, lubricated, inspected, and sharpened will not only extend their lifespan but also improve the quality of your work. By maintaining your tin snips, you will get many years of use out of them.
You can greatly improve your metalworking experience by maintaining and sharpening your tin shears. With well-maintained tools, you can enjoy smoother cuts, increased precision, and safer working conditions.
As always, thank you for checking out our blog. We hope that this helps you with your project.
Please also check out the other articles in our helpful guide series. We have written about Cutting Metal and the Art of Metalworking recently to name but two of our articles.
We are also proud to sell this product on our highly popular eBay store, check us out there too.
If you have any further questions, feel free to contact us.
Speciality Metals
Unit 1, Farrell Street, Warrington,
Cheshire, WA1 2WW, United Kingdom
Quick Links
Payment Options
